Wrapped surfaces are showing up in a lot of homes these days. Kitchen cabinets, bathroom panels, furniture, doors. They are a simple way to update a space without tearing everything out. But like most things, they need some basic upkeep to stay in good shape.
A lot of people think that once the wrap is applied, there is nothing else to do. That is not right. Dirt, grease, and moisture build up over time. If you leave it too long, the wrap can start to peel at the edges or look dull. The good news is the cleaning process is not hard at all. This guide covers what to do, how often to do it, and what to avoid.
Why Regular Cleaning Matters
The main reason wrapped surfaces wear out early is lack of cleaning. Grease and grime do more than just make the surface look dirty. When they sit on the surface for too long, they start to get into the edges and seams. Once moisture gets under the wrap, the glue underneath loosens and peeling starts.
Cleaning regularly stops that from happening. It also means you are not using strong products to get through months of built-up dirt. Light cleaning done often is better for the surface than heavy scrubbing done once in a while. Most wraps, including those used in kitchen cabinet resurfacing, last for years when looked after properly.
What You Need
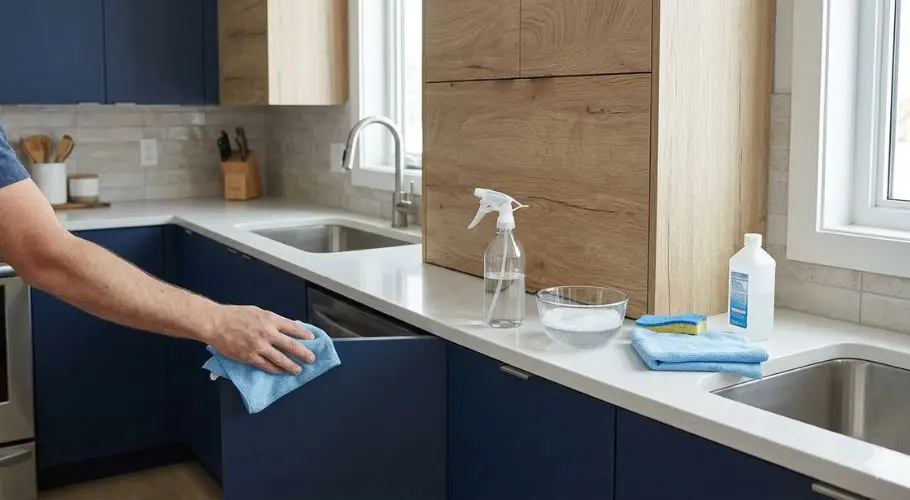
No special products are needed. Most of this you probably already have at home:
- Warm water
- Mild dish soap or a gentle all-purpose cleaner
- Soft microfibre cloths
- A soft sponge
- Rubbing alcohol for tough spots
- A spray bottle (optional)
Keep the following away from wrapped surfaces:
- Bleach or cleaners with ammonia in them
- Paint thinners, nail polish remover, or any strong chemical sprays
- Steel wool or rough scrubbing pads
- Steam cleaners
These do not just damage the top layer. They break down the glue underneath and the wrap will not last as long.
Step-by-Step Cleaning Guide
Step 1: Dry wipe first
Start with a dry microfibre cloth. Wipe the whole surface to remove dust and loose dirt. This
matters because wiping dry dust with a wet cloth can scratch the surface. It only takes a minute.
Step 2: Make your cleaning mix
Mix warm water with a few drops of dish soap in a bowl or spray bottle. You do not need much soap. A light mix is enough for regular cleaning.
Step 3: Wipe the surface
Dampen your cloth and wring it out well. It should feel damp, not wet. Wipe in one direction using gentle, steady strokes. Do not scrub in circles. This helps avoid streaks and stops you from catching the edges of the wrap.
Step 4: Deal with grease spots
For grease, hold the damp soapy cloth on the spot for 20 to 30 seconds before wiping. This gives the soap time to loosen it. If that does not work, put a small amount of rubbing alcohol on a cloth. Dab it on, wipe it off, and do not let it soak in.
Step 5: Wipe off any soap
Go over the surface with a clean damp cloth to remove any soap left on it. Soap left on the surface can make it look streaky and attract more dust.
Step 6: Dry the surface
Dry everything with a clean dry cloth. Do not skip this step. Water sitting near the edges can slowly loosen the glue underneath. This is one of the main reasons edges start to lift.
Mistakes That Damage Wrapped Surfaces
- Scrubbing hard: When something is stuck on, most people scrub harder. This scratches the wrap. Let the soap or cleaner sit for a bit first to loosen the dirt, then wipe gently.
- Using too much water: A soaking wet cloth pushes water into the edges and seams. Wring your cloth out properly before wiping every time.
- Skipping the edges: Edges are where problems usually start. When you clean, check them. If a small part is starting to lift, press it back down. Catching it early stops it from getting worse.
- Leaving grease too long: Kitchen surfaces collect grease quickly. When it hardens, you need stronger products to remove it. Wiping down after cooking keeps things easy to manage.
- Using the wrong products: This is probably the most common problem. General sprays, bathroom cleaners, and furniture polish often have chemicals that are too strong for vinyl wraps. Check the label before trying anything new.
Different Surfaces Need Slightly Different Care
Indoor surfaces like furniture and cabinet wraps are the easiest to look after. They are not exposed to much moisture or big temperature changes. Regular gentle cleaning is usually all they need. If you have had bathroom surfaces wrapped, those need a bit more attention. Steam from showers affects the glue over time, especially near the edges. Good airflow in the bathroom helps. Wiping down surfaces after showers when you can makes a real difference.
Outdoor or commercial wrapped surfaces go through more wear and tear. Heat, cold, sunlight, and heavy use all add up. For these, it is worth doing a quick check every couple of months. Look for bubbles, fading, or edges that are starting to come away. Small problems are much easier to fix early. If you are not sure what type of wrap was used on a surface, ask whoever installed it before trying new products on it.
How Often Should You Clean?
| Surface | How Often |
|---|---|
| Kitchen cabinets and splashbacks | Once or twice a week |
| Bathroom panels and doors | Every few days, full clean once a week |
| Furniture and shelving | Once a week or when it looks dusty |
| High-traffic or commercial areas | Quick wipe daily, full clean once a week |
These are rough guides. Short regular cleans are always better than big cleans done less often.
A Few Extra Things to Know
- Do not use wax or polish on matte finish wraps. It leaves a shiny look that does not belong on a matte surface.
- Do not put very hot items directly on wrapped surfaces. Heat loosens the glue and can cause bubbles.
- Sharp objects can cut through the wrap. Keep knives away from wrapped counters or tables.
- If one section gets damaged, it can often be fixed without replacing the whole surface. Looking into surface wrap repairs for that one area is usually the better option.
- Do not use steam cleaners on wrapped surfaces. The heat and pressure causes the wrap to bubble and lift.
When to Call a Professional
Most upkeep you can do yourself. But if large sections are peeling, if bubbles will not go flat, or if water has gotten under the surface in a big area, fixing it yourself may not work. Getting someone to look at it early is better than waiting until the problem has spread too far to patch.
Keep It Simple and Stay Consistent
Wrapped surfaces do not need a lot of work. Most problems happen because of the wrong cleaning products or because cleaning gets left too long. A damp cloth, a little dish soap, and drying it off at the end is enough for most regular cleaning.
Paying attention to the edges and cleaning on a regular schedule makes the biggest difference. You do not need anything complicated. A few simple habits done consistently is all it takes to keep wrapped surfaces in good condition for a long time.
The Long-Term Value of Proper Care
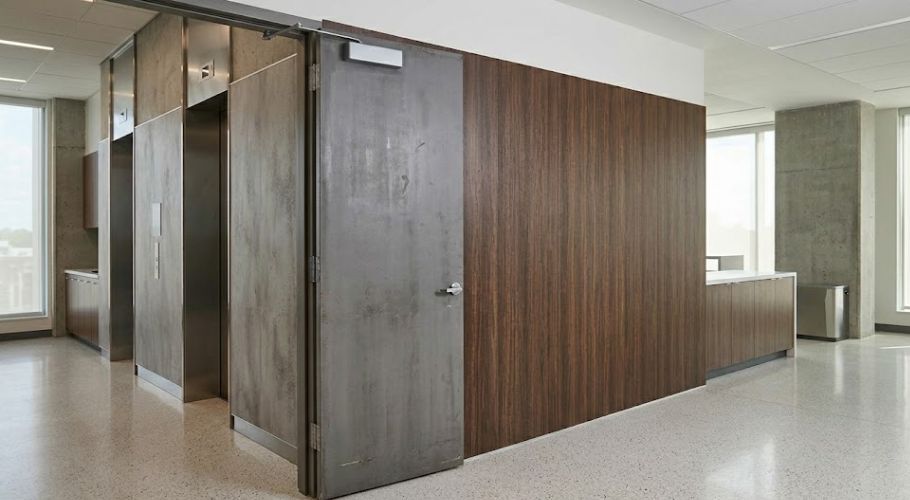
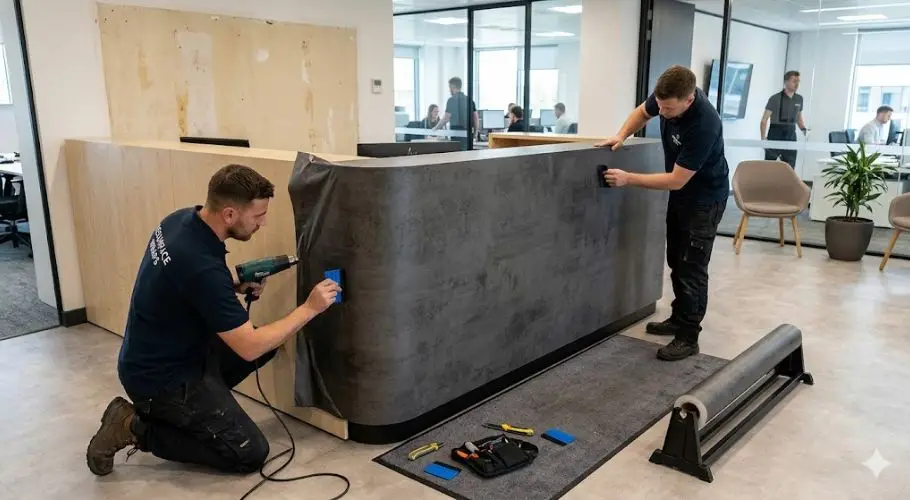
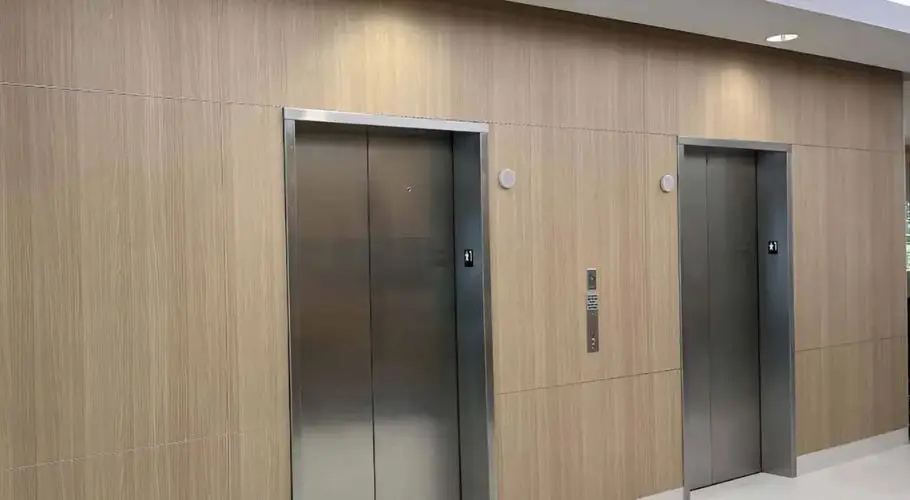
Investing a few minutes a week into basic maintenance ensures your surfaces look as good as the day they were installed. Whether you are managing commercial door wraps in a busy office or a custom elevator wrap in a high-traffic building, the principles remain the same. Staying consistent with light cleaning and keeping the edges dry helps you get the most out of your architectural vinyl wrap while protecting the original surface underneath.
Maintenance is not about deep scrubbing; it is about building simple habits that prevent dirt and moisture from causing issues. A well-cared-for wrap continues to look modern and professional for a decade or more without the need for a full replacement. If you ever notice damage that goes beyond a simple cleaning, or if you are ready to explore new finishes for your next project, reaching out to a professional early can help you find the best solution for your space.