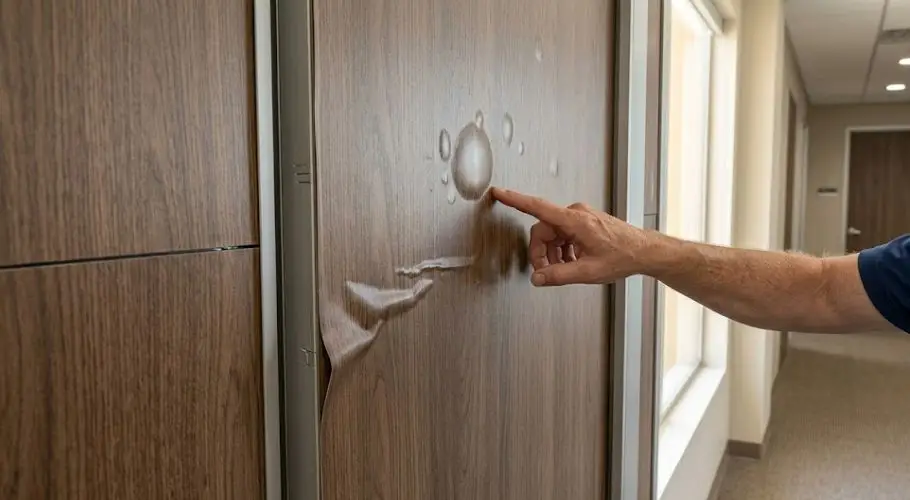
Removing vinyl wrap is only half the job. Once the film is off, you are often left with sticky residue on the surface underneath. It catches light, collects dust, and gets worse the longer you leave it. Handle it the wrong way and you can scratch or dull the surface you were trying to protect.
This guide walks through how to clean adhesive residue off architectural surfaces. Doors, wall panels, elevator cabs, storefront frames, it does not really matter. The method is mostly the same across all of them. Go slow, use the right products, and do not try to rush it.
Why Adhesive Residue Gets Left Behind
Pressure-sensitive adhesive bonds to a surface when you press it down. Over months and years, heat and pressure work that glue deeper into the material. When you pull the film off, some of that adhesive stays put.
Old wraps are the worst for this. The glue dries out and hardens over time, so it grips the surface more tightly. Rough or textured substrates are also a problem because the adhesive gets into small grooves and pores. The longer a wrap has been on, the more patience you will need to remove what it leaves behind.
Surfaces Where Adhesive Residue Is Most Common
| Surface Type | Residue Risk | Notes |
|---|---|---|
| Painted metal (doors, panels) | Medium | Clean with care to avoid paint damage |
| Stainless steel | Low to Medium | Usually easier to clean |
| Glass | Low | Responds well to most adhesive removers |
| Powder-coated surfaces | Medium to High | Avoid harsh solvents |
| Laminate or MDF | High | Absorbs adhesive; needs gentle approach |
| Gypsum / drywall | High | Very sensitive; low-moisture methods only |
What You Will Need
Get your tools together before you start. Using the wrong thing can scratch the surface or just push the residue around without actually removing it.
Cleaning supplies:
- Isopropyl alcohol (70% or higher)
- Citrus-based adhesive remover or naphtha
- Plastic scraper or plastic razor blade
- Microfibre cloths (several clean ones)
- Mild dish soap and warm water
- Soft-bristle brush for textured surfaces
Optional:
- Heat gun or hair dryer
- Rubbing compound for painted surfaces
- Gloves and ventilation (when using solvents)
Avoid steel wool, metal scrapers, or abrasive pads. These leave scratches that are harder to fix than a little leftover glue.
Step-by-Step: How to Remove Adhesive Residue the Right Way
Step 1: Start With Heat
Warm adhesive comes off much easier than cold adhesive. Use a heat gun or hair dryer on a low to medium setting. Keep it moving and hold it a few inches from the surface. You are not trying to burn anything. You just want the glue to go soft enough to peel.
This matters most on metal doors and elevator panels where the adhesive has been sitting under pressure for years. If you are working on a painted or powder-coated surface, do not overdo the heat. Too much and you risk bubbling or lifting the coating underneath.
Step 2: Lift with a Plastic Scraper
While the adhesive is still warm, use a plastic scraper or your fingernail to start lifting it. Keep the angle low, around 30 to 45 degrees. That reduces the risk of gouging the surface. Work in small sections. Do not try to scrape large areas in one go.
Metal blades are off the table on painted, coated, or laminate surfaces. Even a light scratch shows up once the surface dries. Plastic razor blades are cheap and available at most hardware stores. Worth keeping a few on hand.
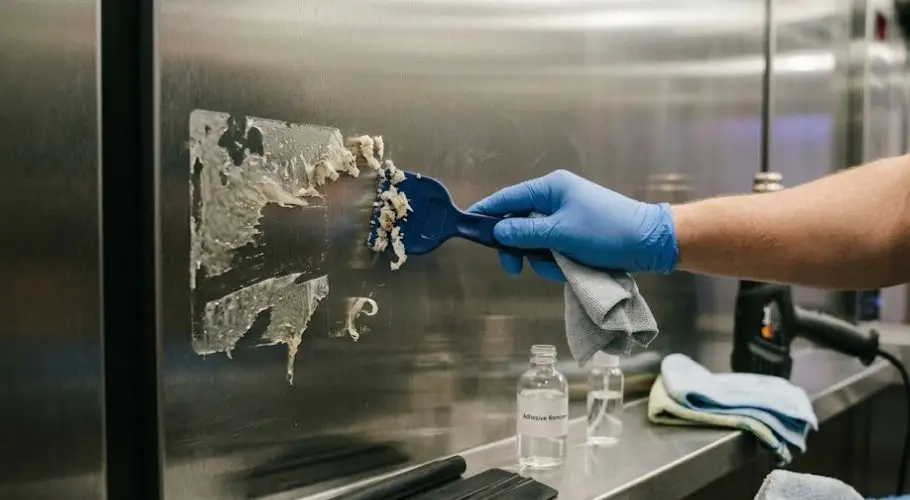
Step 3: Apply Your Adhesive Remover
Put a small amount of isopropyl alcohol or citrus-based remover onto a microfibre cloth. Do not pour it straight onto the surface. Press the cloth down onto the residue and leave it there for 30 to 60 seconds. The solvent needs a moment to work into the adhesive before you start wiping.
Then wipe in one direction. Going in circles spreads the residue around. After each pass, fold the cloth to a clean section and reapply solvent as needed. On stainless steel elevator panels, this step alone usually takes care of most of the residue.
Step 4: Clean the Surface
When the residue is gone, wash the surface down with mild dish soap and warm water. This gets rid of any solvent or oily film the remover left behind. Dry it off with a clean microfibre cloth.
If the plan is to put new film on, do not skip this step. Any contamination left on the surface will affect how well the new vinyl sticks. That applies whether you are replacing door wraps after years of use or refreshing part of a wrapped wall.
Step 5: Inspect and Treat Any Remaining Spots
Check the surface under good lighting before you call it done. Residue is easy to miss until it catches the light at an angle. A second pass with isopropyl alcohol will sort out any stubborn patches.
On painted surfaces, look for any dull or hazy patches where the adhesive was sitting. A bit of rubbing compound worked in gently and then buffed off can bring the finish back.
Common Mistakes to Avoid
Using too much solvent at once: More does not mean faster. Excess solvent can seep under trim, lift coatings, or leave streaks. Use just enough to wet the residue.
Skipping heat on old wraps: If the film has been on for several years, the adhesive will have gone hard. Trying to remove it cold takes ages and is more likely to scratch the surface underneath.
Scrubbing too hard: Pressing down hard while scrubbing leaves swirl marks, especially on painted or coated surfaces. Light pressure and patience gets better results every time.
Using the wrong solvent: Acetone is too harsh for most painted, powder-coated, or plastic surfaces. Isopropyl alcohol or a citrus remover is the safer choice for most jobs. Always test a hidden spot first before going over the whole surface.
Not rinsing off the solvent: Finish with soap and water every time. Leaving solvent residue on the surface creates a film that can stop new adhesive from bonding properly.
Tips by Surface Type
Metal Doors and Frames
Metal is fairly forgiving. Isopropyl alcohol handles most jobs on its own. For older door wraps where the adhesive has really set in, try a citrus remover. Leave it on for about a minute before wiping. If the door has a paint or powder coat, keep things gentle and avoid strong solvents.
Elevator Panels
Most elevator cabs use brushed stainless steel or laminate panels. Stainless is easy to work with and handles most removers fine. Laminate needs more care. Use isopropyl alcohol and keep moisture to a minimum. Go panel by panel and do not rush. These surfaces usually clean up well once you get into a rhythm.
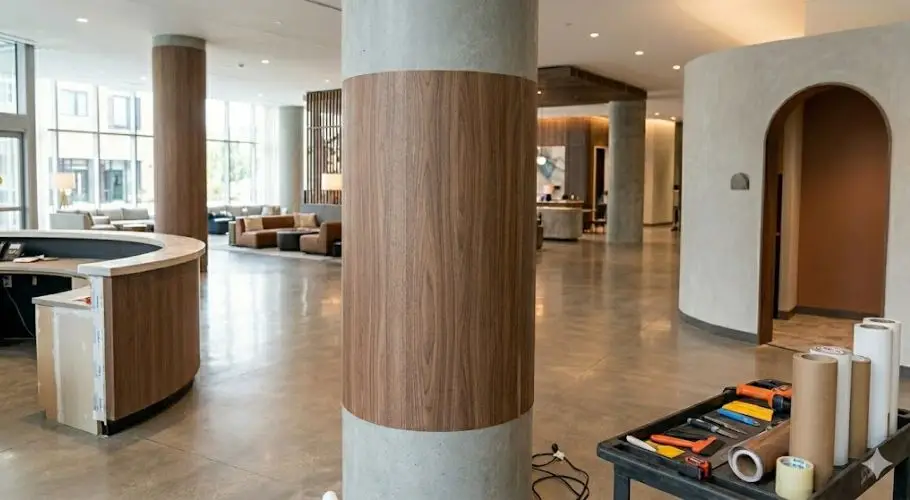
Walls and Columns
Drywall and gypsum are the most difficult. Use as little moisture as possible. Apply the remover to your cloth, not directly to the wall. Blot and lift rather than rubbing. Washable paint finishes can handle a gentle wipe. Flat and matte finishes are much more delicate and will show marks easily.
For columns, the same approach applies. Go slowly and check your progress often. A properly installed wrap tends to leave less residue behind when it comes off, which makes this stage easier.
Glass and Storefronts
Glass is the easiest surface to deal with. Most solvents work well and the surface is non-porous so residue sits right on top. A plastic razor blade is safe to use directly on glass. Finish with a standard glass cleaner to remove any streaking.
When to Call in a Professional
For one or two surfaces, doing it yourself is fine. But once you are dealing with multiple elevator cabs, full wall sections, or a large commercial fit-out, it is worth bringing in someone who does this regularly. Getting the technique wrong on a big job can cause surface damage that costs more to fix than the wrap removal itself.
Film that was installed properly in the first place also tends to come off cleaner. Less residue, less effort. That is worth keeping in mind if you are planning a refurb and wondering whether professional installation is worth it. If old film needs to come off before new surfaces go down, talking to a professional installer beforehand will save time at every stage.
How to Tell If the Surface Is Ready for Rewrapping
Once the surface is clean, run through these checks before putting new film down.
- Run your hand across the surface. No tackiness at all.
- Hold a light at a low angle. Any residue will show up as a sheen.
- Wipe with a clean white cloth. If it comes away with any brown or yellow on it, there is still adhesive there.
- The surface should feel smooth and dry, not oily or waxy.
If it passes all four, you are good to go. Getting the prep right here makes a real difference to how long the new wrap lasts.
Clean Surfaces Make for Better Installations
Adhesive residue removal is not the most interesting part of working with architectural vinyl, but it is one of the parts that matters most. A dirty substrate leads to bubbling, poor bonding, and a wrap that starts failing before it should. Do it properly and the new film goes down cleanly and lasts longer.
The process is not complicated. Heat to soften, a plastic tool to lift, a solvent to dissolve, soap and water to finish. Check your work under good light before moving on and you will not have to redo it. If you have questions about removing or installing architectural vinyl wrap on commercial surfaces, get in touch with the team at Resurface Wraps.