Architectural vinyl wrapping works well when the process is followed correctly. It cuts renovation costs, keeps disruption low, and produces a finish that holds up in commercial environments. But skip a few steps, or rush through a section, and the film starts lifting, bubbling, or looking uneven within weeks.
These mistakes are not rare. They happen on commercial projects, hotel renovations, and retail fit-outs all the time. Most of them are preventable. This guide breaks down the most common errors that come up during architectural film installation, and what to do instead.
What a Failed Installation Actually Costs
A poor installation does not always fail immediately. Sometimes a door wrap looks fine for the first few weeks, then edges start peeling. Or bubbles appear after the first change in temperature. By that point, you are either re-doing the job or living with a result that does not reflect well on the space.
On commercial projects, especially in hospitality and healthcare settings, the cost of redoing a job can wipe out the savings that made wrapping the right call in the first place. A failed installation often costs more than just materials.
1. Skipping Surface Preparation
This is the most common mistake across the board. Surfaces that look clean to the eye often have invisible grease, dust, or residue that prevents proper adhesion.
Architectural vinyl film bonds to the substrate underneath it. If the surface is dirty, the film won’t stick, no matter how hard you press. Even a fingerprint left on a door panel before installation can cause a small lift later.
What to do instead:
- Wipe all surfaces with isopropyl alcohol (IPA) before applying film
- Let the surface fully dry before starting, even if it looks dry already
- On porous or rough surfaces, use a manufacturer-recommended primer or adhesion promoter
- Check for paint peeling, loose coatings, or old adhesive residue and deal with those before wrapping
This step takes maybe 15 to 20 minutes per surface. Skipping it can cost hours in rework.
2. Working in the Wrong Conditions
Temperature and humidity affect how vinyl film behaves. Most architectural films are designed to be applied at room temperature, somewhere between 60°F and 85°F (15°C to 30°C). Outside that range, things get difficult.
In cold conditions, the adhesive gets stiff the film becomes harder to stretch and conform to surfaces. In very high heat, the film can stretch too easily, which leads to distortion, especially around edges and corners. Humidity also plays a role since moisture on the surface prevents the adhesive from sticking fully.
What to do instead:
- Install in a temperature-controlled environment where possible
- Do not install directly after a room has been cleaned with steam or water unless the surface has had time to fully dry
- In cold weather, allow the film to acclimate to room temperature before unrolling it
- Avoid installing in direct sunlight where surface temperatures can be much higher than air temperature
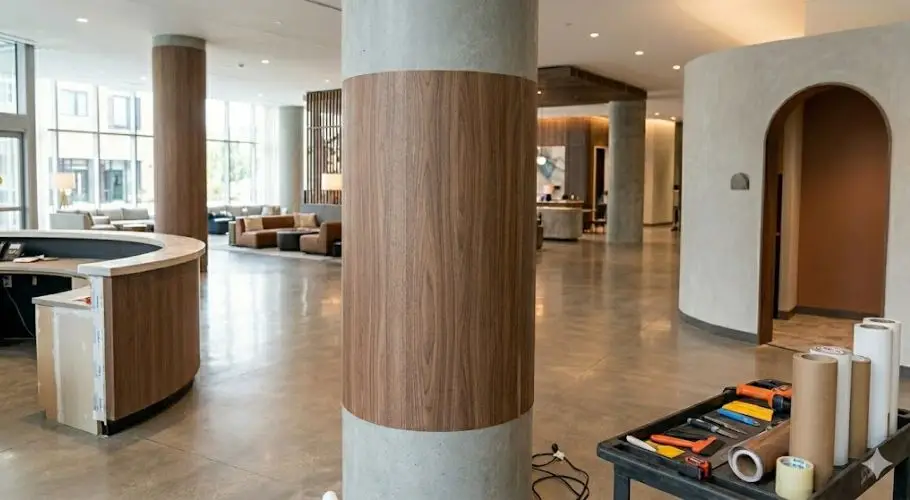
On large commercial projects like elevator interiors or wall panels, temperature needs to be managed before installation begins, not treated as an afterthought.
3. Rushing the Squeegee Work
Using a squeegee incorrectly causes a large share of bubble and wrinkle problems. The squeegee does two things: it pushes air out from under the film and presses the adhesive firmly against the surface. Both require patience and steady pressure.
Going too fast does not give the adhesive time to grip evenly. You end up with micro-pockets of air that are hard to see right away but show up clearly once the film has set. Pressing too hard at the wrong angle can also stretch the film or push wrinkles to the edge instead of out of the panel.
What to do instead:
- Always start from the center of a panel and work outward
- Use overlapping strokes, each one covering about half the width of the previous stroke
- Angle the squeegee at about 45 degrees to the surface during application
- Use a felt-edge or fabric-wrapped squeegee on glossy or delicate finishes to avoid scratching
- For larger surfaces, divide them into sections and work one section at a time
4. Ignoring Corners and Edges
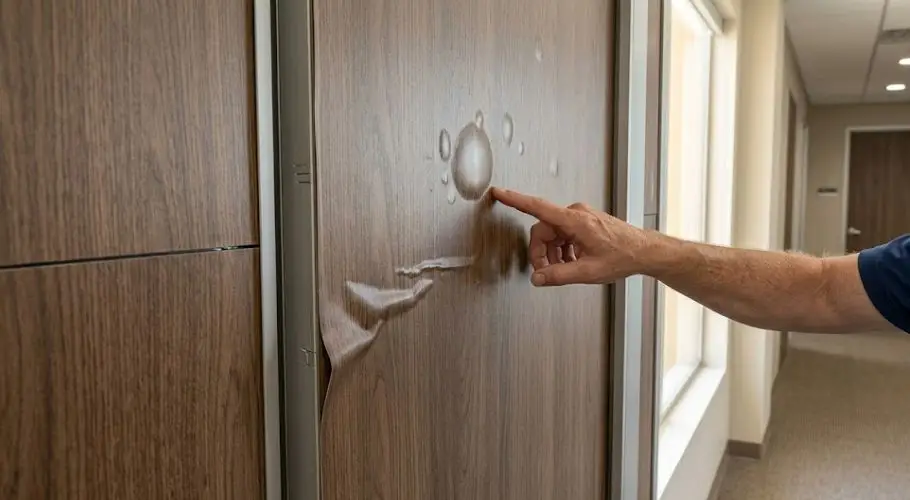
Edges and corners are where most film failures start. They are also the most visible parts of a surface, so a lift or bubble at a corner is immediately noticeable.
The challenge with corners is that the film has to conform to a change in direction. If you just fold the film around a corner without the right technique, it creates tension in the material. That tension pulls the edge away from the surface over time, especially in high-traffic areas or places with frequent temperature changes.
What to do instead:
- Use a heat gun to soften the film before conforming it around corners and edges
- Do not apply heat in one spot for too long, as this can distort the finish or affect the adhesive
- Pull the film gently as you apply heat, just enough to stretch it around the corner without tearing
- On inside corners, use a knife or trim tool to make a relief cut so the film lies flat without bunching
- Seal all edges with a firm squeegee pass, paying attention to the very last millimeter of film at the trim line
On surfaces like casework and millwork, which often have more detailed profiles and edges, this step can take longer than the main panel application, and it should.
5. Using the Wrong Film for the Surface
Not all architectural vinyl films are the same. Different films are designed for different surfaces, traffic levels, and applications. A film designed for a smooth interior wall may not perform well on a textured door with hardware recesses. A film suited for a low-traffic environment may wear down quickly in a busy hotel corridor.
Using the wrong product is a common mistake when someone selects a finish based on looks alone without checking the technical spec sheet.
Common mismatches to avoid:
| Surface Type | What Goes Wrong with the Wrong Film |
|---|---|
| High-traffic doors | Non-abrasion-resistant film scuffs and dulls quickly |
| Textured substrates | Rigid film lifts at textured points and does not conform |
| Exterior or storefront surfaces | Interior-rated film breaks down when exposed to UV |
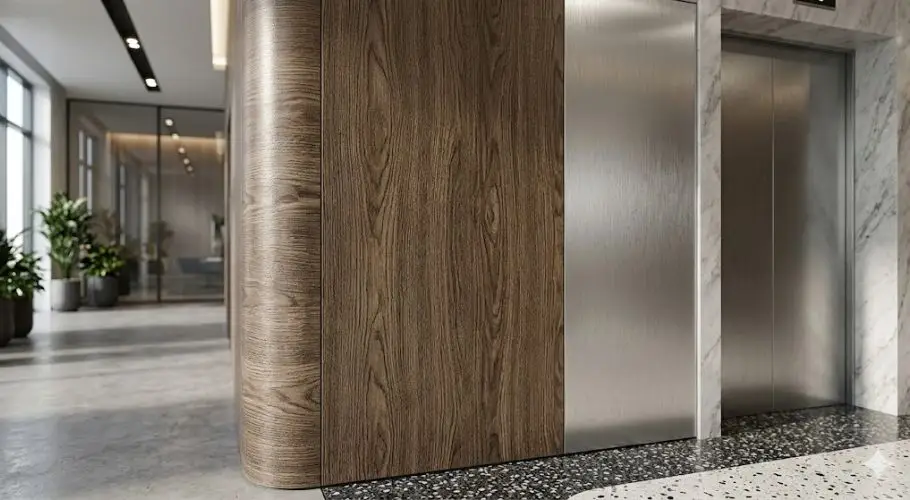
| Elevator interiors | Standard film cannot handle flex and movement over time |
Resurface Wraps installs 3M DI-NOC, Reatec, Benif by LX Hauslys, and Belbien, all of which are fire-rated and tested for commercial applications. These are not interchangeable with lower-grade vinyl products, and the performance gap between them is real.
6. Not Accounting for Film Pattern and Grain Direction
This one mostly comes up with wood grain and fabric finishes. Architectural films that replicate natural materials have a directional pattern. If you install sections of the same film at different orientations, the grain will not match across panels, and the result looks mismatched and rushed.
On a wall panel or a set of doors in a hotel corridor, mismatched grain direction is noticeable from a distance. It undoes the visual effect the wrap was meant to create.
What to do instead:
- Plan the layout before cutting any film, noting which direction the grain or pattern runs
- Mark each panel with a small arrow or note showing intended orientation before cutting
- When wrapping multiple doors or panels in the same space, source film from the same production batch where possible to ensure color and pattern consistency
- Do a dry layout test before peeling any backing and applying adhesive
7. Cutting Film Without Leaving a Safe Overlap
Cutting architectural film too short before installation is a hard mistake to fix. Once the film is applied and trimmed, you generally cannot add a small piece to cover a gap. It means starting that panel over.
Cutting too tight also makes it harder to align the film properly during application since you have no extra material to adjust with.
What to do instead:
- Always leave at least 1 to 2 inches of extra film on every edge before installation
- Trim to final size after the film is applied and the edges are set
- Use a fresh blade for every cut since a dull blade drags the film and can pull the edge out of position
- On irregular shapes, trace the outline first and cut with generous allowance, then trim down after installation
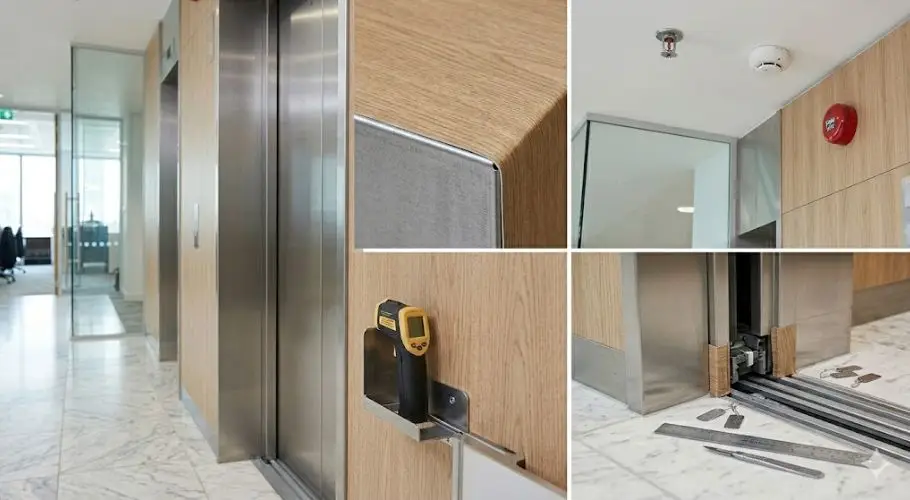
8. Overlooking Fire Rating Requirements
This is a practical issue that comes up often in commercial and institutional projects. Building codes in many jurisdictions require that any material applied to walls, doors, ceilings, or elevator interiors in public or commercial spaces must meet fire safety standards.
Architectural vinyl film used in these spaces needs to be fire-rated. Using a non-rated film, even one that looks identical to a rated product, can create compliance issues during inspections. In some cases, it means the wrap has to be removed entirely.
The films used in Resurface Wraps projects are Class A fire-rated and UL 10B and 10C certified, which makes them compliant with commercial interior safety codes.
9. Skipping a Post-Installation Inspection
The job is not finished when the last panel goes up. A quick inspection after the film has set, usually after 24 hours, can catch small problems before they become bigger ones.
During installation, it is easy to miss a small lifted edge or a faint bubble under artificial lighting. Checking the finished work in different lighting conditions and from different angles is a simple step that saves call-backs later.
What to check during post-installation review:
- Run your hand lightly along all edges to feel for any slight lifts
- Check corners at both eye level and from below, since low-angle lighting shows surface defects more clearly
- Look across panels at a shallow angle in good light to spot any bubbles or areas where the film has not bonded fully
- Check any seams to make sure they lie flat and are not visible from a normal viewing distance
Common Mistakes and How to Fix Them
| Mistake | Root Cause | How to Prevent It |
|---|---|---|
| Bubbles under film | Air trapped during application | Slow squeegee work from center out |
| Edge lifting | Surface contamination or poor edge sealing | IPA clean before install, firm edge squeegee pass |
| Mismatched grain pattern | No layout planning | Dry layout before cutting |
| Film tearing at corners | No heat used during conforming | Use heat gun with gentle stretch |
| Film failing fire inspection | Wrong product used | Specify fire-rated film for all commercial projects |
| Wrinkles on textured surfaces | Film too rigid for substrate | Use conformable film grade, apply with heat |
What Professional Installation Looks Like in Practice
On a large-scale commercial project, installation follows a set sequence. The surface is prepared and inspected. Film is laid out, checked for grain direction, cut with generous overlap, and applied in sections. Edges and corners get specific attention. The finished work is reviewed before the team moves on.
Resurface Wraps has completed thousands of door wraps across hotels, hospitals, retail spaces, and corporate offices throughout North America. Each project, whether it covers 10 doors or 250, follows the same preparation and installation standards. The portfolio shows what that looks like across different surface types and industries.
Small Errors, Long-Term Consequences
Architectural wrapping does not require a lot of specialist equipment, but it does require attention to the steps that are easy to skip when you are working quickly. Surface prep, film selection, squeegee technique, edge handling, and fire compliance each play a part in how long a wrap holds up. Skipping any of them tends to show up eventually. The expected performance life of architectural vinyl is 12 years for indoor applications, but only if the installation is done correctly from the start.
If you are planning a renovation project and want to understand how architectural vinyl film could work for your space, get in touch with the Resurface Wraps team to discuss your project.